A few weeks ago, my jute schoolbag developed a hole, so I decided 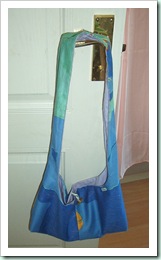 to make a new shoulder bag for the summer. I looked at a number of ideas on the net, and came up with this blue one. It took an hour from start to finish, and used up some odd remnants from my stash. The girls at the Sewing Club at KMFC admired it, and asked if they could make similar ones. So have I decided to do a pukka Craftblog Tutorial like those found here and here.
Anyway, here is my attempt.
The fabric I am using is part of an IKEA duvet - I got it from the bargain corner, along with 2 pillowcases, for £5 last year. I love its retro pattern, and the back of the cover is plain green which makes a good contrast lining. The pillowcases got used up making juggling bags. You will need two pieces 82 x 72cm.
The pattern - I made it out of a large sheet of card, so that the girls can draw round it - but newspaper would do fine. 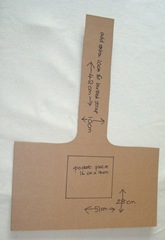 It is basically two rectangles in a T-shape, the bag is 51 x 28cm and the strap is 42x10cm.
The pocket is 16x14cm. A girl at school had a similar bag, and hers had a knot at the top of the strap. To do that, you need to make the strap 52x10.
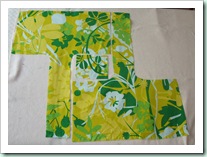
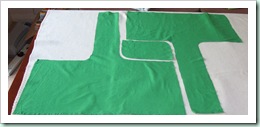
1- Cut out two pieces in main fabric and two in the lining. If you turn one piece upside down and interlock the shapes, it uses the fabric more efficiently.
I have moved the pieces apart slightly to make it clearer. You can cut your pocket from the middle bit. I like to make the pocket in main fabric for contrast.
2 - Pin right sides together and seam front and back, first ma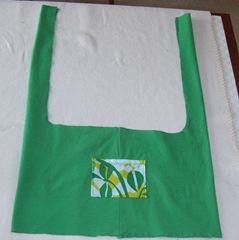 in pieces, and then the linings. Press and turn out. Press under the edges of the pocket. Hem top edge, then pin centrally to the lining and sew round the other three sides. BE CAREFUL only sew through one layer of lining!
3- Now, right sides together again, sew along the BOTTOM edges of the bag, and then the lining. But remember to leave a 9cm gap i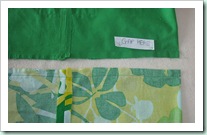 n the lining to allow for turning through. That piece of paper on the photo says "GAP HERE" but it's not very clear.Sorry!
4. Flatten the bottom corners, and measure 3cm down, then sew across at right angles, to make a clean corner. Repeat on all four corners.
 5. Press everything again. Now put the two bags together, one inside the other right sides together. Pin them together carefully REMEMBER to put the elastic in! [I forgot on the blue bag and had to sew it in later which is not so neat.
Cut a 10cm length of elastic, fold it in half and tuck between the two layers, by the centre seam.
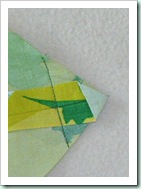
6. Sew all round, starting at top of one strap, down and across the top of the bag,  up the other strap. Here's a picture of the seam, with the ends of elastic peeking through.
7. IF YOU WANT KNOTTED STRAPS sew across the top of the two straps at this point, otherwise leave the ends open. Carefully trim seams and cli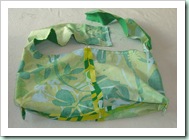 p curves. Turn the bag out through the gap you left in the lining.
8. Hand stitch the gap in the lining, sew on the button, and if you want a continuous strap., tuck one end inside the other, fold in raw edges and stitch 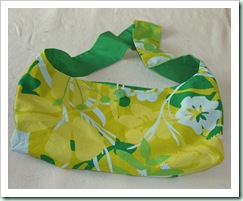 firmly [I did two rows of zig-zag]
Voila! you have your summer bag.
This took me THREE hours - but that was because I was photographing every stage and trying to take copious notes as well.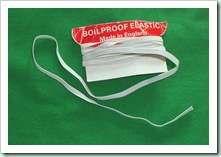
This is my vintage elastic, which has been in my sewing store for years, and these are the three vintage buttons which I selected for the finished bag - and then couldn't decide which to use. 
Bob said the green one looked best, so that's what I sewed on.
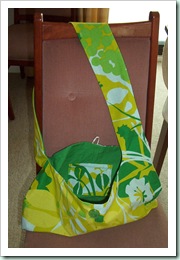
Finally, here is a picture of the finished bag hanging over the chair, artfully arranged so you can see the contrast pocket inside.
Now I shall have to print off and laminate these instructions for the girls to use tomorrow night!


wow, that turned out great. good job. thanks for sending me the link.
ReplyDelete